Web Cameras
Installation
INDI Webcam driver supports many types of webcam devices on both Mac OS X and Linux. Since it is built on FFMPEG libraries, a widely-used multimedia plaform available on most operating systems, it can support a wide range of devices on many different operating systems. The driver is available for download as a 3rd party driver from INDI's download page. For OS X, it will come bundled with KStars and other INDI Server applications. Under Linux, this driver requires Ubuntu 18.04+. You can install it via:
sudo add-apt-repository ppa:mutlaqja/ppa
sudo apt-get update
sudo apt-get install indi-webcam
Features
The INDI Webcam driver should support many different types of devices including:
- AV Foundation Cameras on OS X
- V4L2 Cameras on LInux
- DC 1394 Cameras on Linux
- IP Cameras over Ethernet and Wifi
- Cell Phone and Mobile Device Cameras over Wifi using IP camera apps
- Screen Capture on OS X and LInux
- And any other devices supported by FFMPEG and the software libraries you have installed on your computer
The INDI Webcam driver has a number of interesting features:
- Supports both Live Streaming and Single Image Capture
- Can use a Webcam or Cell Phone Camera like an astrophotography camera
- Can do rapid stacking in integration mode to add many frames in the set exposure time to increase signal
- Can do rapid stacking in averaging mode to average many frames in the exposure time to reduce noise
- Can take 8 bit RGB, 16 bit RGB, and 16 bit Grayscale images.
- Supports ROI subframing
Before connecting
Before you can connect to your webcam and use it in an INDI client, you should do the following:
- Configure your profile in KStars or other client program
- Plug in your webcam (or on a mobile phone, start up the IP camera Server)
- Turn on your webcam (if required)
- Start or Connect to the INDI Server from the client
- Select your Video Device, Video Source, Frame Rate, and Video Size
Configuring a Profile in KStars
In order to use your Webcam in KStars, the first step is to configure the CCD setting in a new profile or editing and existing one. Here is a new profile where we are selecting our CCD as an INDI Webcam CCD. Other software may have similar configuration steps.
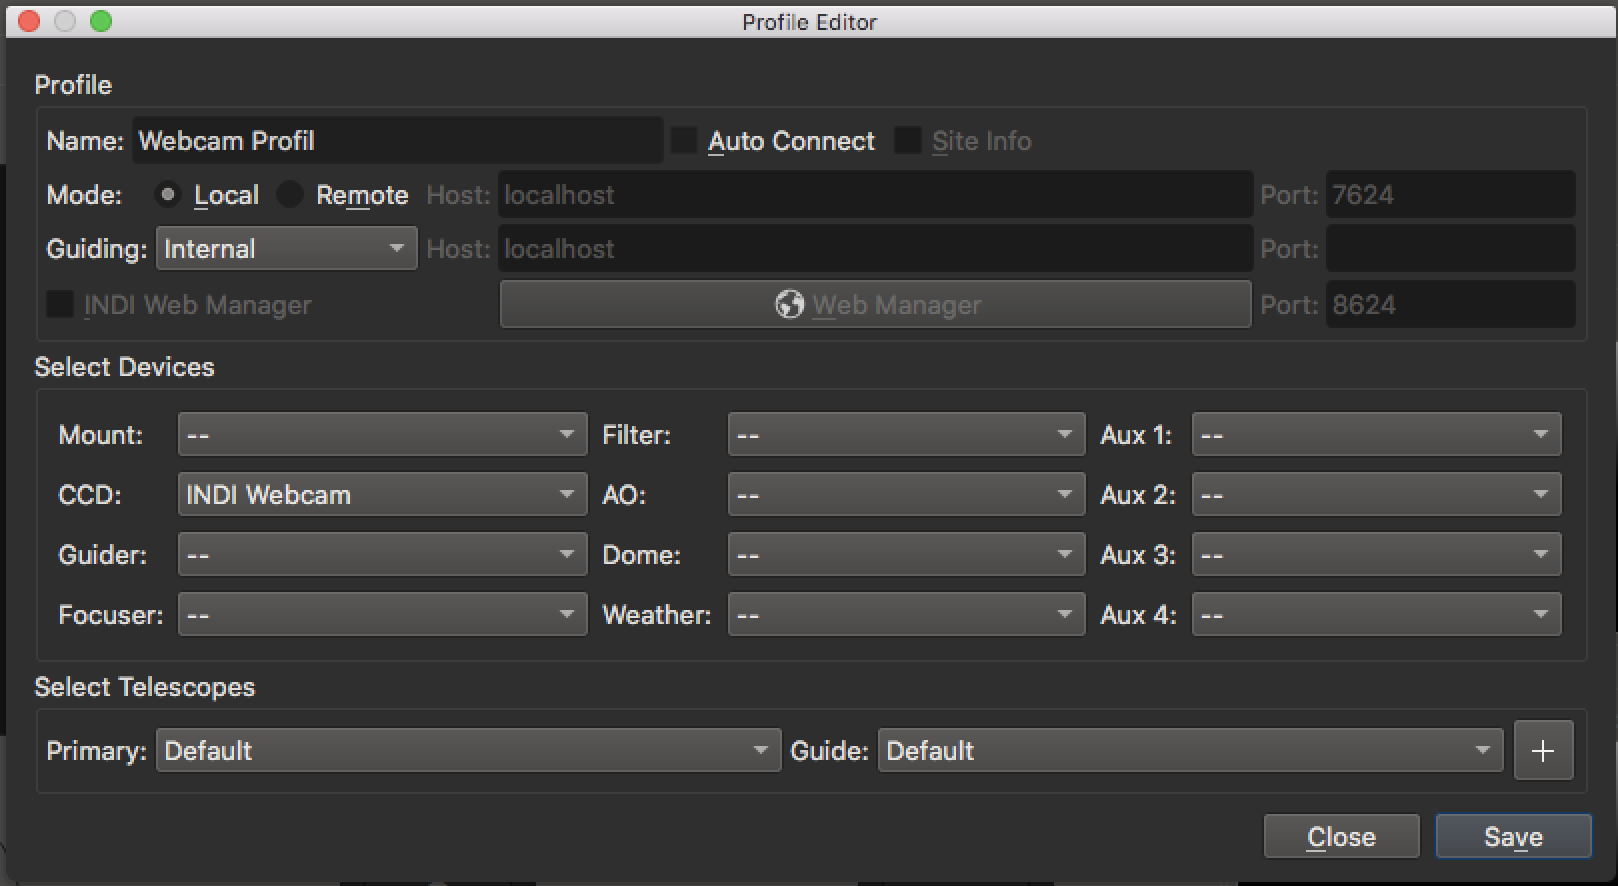
Note that it is not a good idea to have "Autoconnect" selected in this driver before you configure your connection settings and save your configuration file.
Connecting to a Webcam's Video Stream
To connect to the Video Stream of your webcam, you need to first select the Capture Device, the Capture Source, the Frame Rate, and the Video Size. If there is not a stream currently connected, your settings will be changed and then tested when you press the connect button. Since FFMPEG requires this information in order to connect to a video stream, these settings must be correct first.
After you have already connected to a working video stream, you can try changing these settings at any time while the driver is up and running and even while live streaming, but note that any time you change these 4 settings, it will cause FFMPEG to disconnect from the current video stream and try to reconnect to your new video stream. If it fails to connect to the new stream and a video stream was already running, it will switch back to the old working video stream.
You can change the settings for the Capture Device, the Capture Source, the Frame Rate, and the Video Size by either clicking their buttons or by typing the new information into the "Input Options" and clicking the set button. The current connection information is always displayed under the Input Options. If the attempt to change the connection was successful, the LED next to that option should turn green, if it was not successful, it will stay yellow.
Capture Device
This setting is not the camera you are connecting to, but the "device" being used to make the connection. On Mac OS X, most webcam cameras supported by this driver will use the AV Foundation Device. On Linux, most of them will either be supported by V4L2 or lbdc1394. There are many more device types supported by FFMPEG, so the others might be useful too.
NOTE: Changing the device type will cause the driver to disconnect because you need to select the source in order to test the connection and the source list is invalid once you change devices. You will need to reconnect if you change this.
Capture Source
This setting is the camera or source you are trying to connect to. The V4L2 device on Linux and the AV Foundation device on Macs support enumerating and listing all the sources the device supports, so that when you select these devices they will populate the source list with all the available selections. Other devices might not support this function, so you might need to look up what the source will be called. For example, on Linux, a camera source might be called "/dev/video0." If you need a custom source name, you can type it in the Input Options.
NOTE: Changing the Video Source will cause the driver to immediately try the new connection.
Frame Rate
This setting is the frame rate you are requesting that the camera be set to. Many cameras support various frame rates, but not all cameras support all rates. You can try the rates that are in the drop down list and if you want one that is not listed, you can type it in the Input Options. Usually, camera manufacturers will tell you what frame rates the camera can handle. Please note that changing the Exposure time will NOT change the Frame Rate of the camera.
NOTE: Changing the Frame Rate will cause the driver to immediately try the new connection.
Video Size (Resolution)
This setting is the Video Size or resolution you are requesting that the camera be set to. Many cameras support various resolutions, but not all cameras support all sizes listed. You can try the sizes that are in the drop down list and if you want one that is not listed, you can type it in the Input Options. Usually, camera manufacturers will tell you what video sizes the camera can handle.
NOTE: Changing the Video Size will cause the driver to immediately try the new connection.
NOTE: Changing the video size may cause the subframe information to be incorrect at first in clients such as KStars. You will need to click the "Reset" Button to reset the frame to the new resolution.
Connecting to an IP Camera or Cell Phone Stream
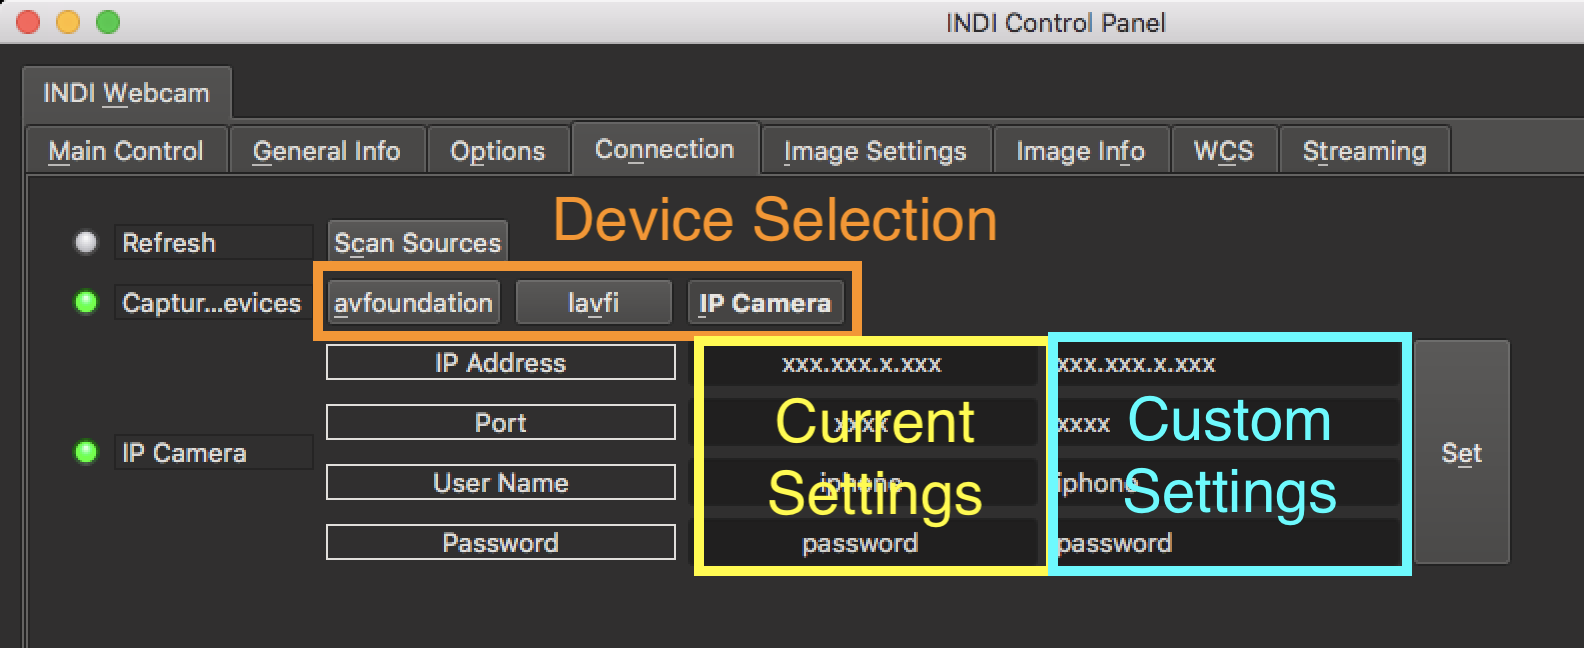
To connect to a video stream coming from a cell phone's camera, first you need to to be sure to have an IP camera server app running on your cell phone that serves up the video stream for the driver to obtain. These apps are available for most mobile phones. This video stream is usually protected by a user name and password so that it is more secure. In most of these apps, they include a screen that makes it easy for you to get the IP Address and port number the IP server app is currently using. The user name and password is usually set in the settings of the app. Just type all of this information into the IP Camera settings boxes and assuming all of it is correct, you should be able to connect.
If you have trouble connecting, please make sure that both your computer and your cellphone are on the network. Then make sure your IP Camera connection settings are correct. Also, you might want to change the FFMPEG timeout in the Options tab if it is timing out before it has a chance to connect.
Using the webcam with an INDI client
The INDI Webcam driver not only supports using the webcam for live streaming, but also for regular FITS exposures. So you can use your webcam just like you use all of your astronomy cameras in clients such as KStars. You can use them for all astronomy tasks such as imaging, focusing, plate solving, and guiding.
Subframes
Even though webcams typically do not support ROI or subframing, the driver does support this in the software. This will mean less data transferred over the network and less hard disk space for storage of images. Subframes are supported in both the live stream and in regular exposure capture.
Exposure Time
Changing the requested exposure time will NOT change the frame rate or exposure time of the camera because it is a webcam. However, changing the exposure time will have an effect if you select one of the rapid stacking options.
If you want to change the framerate/exposure time of the actual images, you can change that in the "Frame Rate" setting in the driver options.
If you have one of the rapid stacking options selected, the driver will attempt to take as many images as it can in the exposure time selected. Then depending on which rapid stacking option you selected, it will either average or add the exposures together. It will then return the resulting stack as the final exposure requested. This can possibly make a webcam perform much better, reducing the noise in the exposure through averaging or increasing the signal for faint objects.
Special Features
Rapid Stacking
This driver includes a special rapid stacking feature that enables a webcam to be used more like a regular astronomy camera. Webcams are typically limited in astronomy to being used for imaging the moon and bright planets due to the short exposure times they are capable of and high noise. In one of the rapid stacking modes, the webcam's flaw is turned into a feature when it is used to rapidly capture as many frames as possible in the "exposure time" and then to either average or stack the frames depending upon the user's selection.
Input and Output Formats
FFMPEG provides support for a wide range of different input and output formats. Because of this, the INDI Webcam Driver can take just about any input format from the camera and turn it into a usable video stream in a compatible format for INDI. Also because of this, the driver could be capable of supporting a large number of output formats as well. As of now, the driver is currently setup to allow the user to select between 16 bit Grayscale, 16 bit RGB, and 8 bit RGB. Please note that while all of these are supported by the regular exposure mode, in Live Video Streaming, it must have 8 bit images. Thus, when live streaming, if either RGB mode is selected, 8 bit RGB will be used for Streaming and if 16 bit Grayscale is selected, 8 bit Grayscale will be used for Streaming.
Screen Capture
Since FFMPEG supports screen capture devices as a input, screen capture is supported by this driver. You might think at first that this is useless for an astronomical device driver, but it can also be very useful for testing purposes. it could be used for testing guiding algorithms, for testing plate solving, and other items. To use screen capture on Macs, it is provided by the AV Foundation device with a source like "Capture Screen 0". To use screen capture on LInux, you can use the x11grab device with a source string something like this ":0.0+100,200" which means to capture the main display screen with the upper left corner of your source at pixel position 100, 200. It then uses the width and height that are set in your Video Size parameter. Note that with the screen capture sources, you can still subrame and do everything you can with the webcam sources.
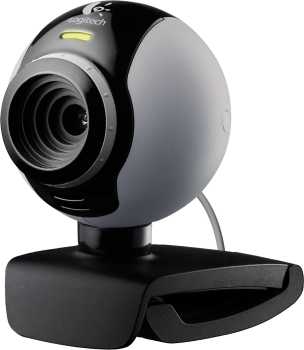
Integrated Webcams
As with Screen Capture, you might think a webcam integrated into your device might have a limited use in astonomy. But it is great for testing out software and for learning how to use KStars or other INDI clients' features. It is also the only camera that is permanently attached to you computer and ready for you to use immediately.
IP Cameras
There are a number of cameras out there that are accessed via their IP address where video is streamed over the network as opposed to webcams that are directly connected to a computer. These video streams need to be accessed in a different way and the INDI Webcam driver now supports that. To use this feature, it is important to have the camera on the network, either connected over wifi or ethernet. It is also vital that you know the current IP address of the camera, the port number it is using, and the user name and password used to access the stream.
Cell Phone Cameras
Many people have actually thought about using their cell phones for astrophotography. At many astronomy events, I have had people look through the eyepiece of my telescope and almost immediately they want to take a photo with their phone. This driver should enable the usage of that cell phone camera for more serious astrophotography applications as well. You could use your phone for imaging planets and other bright astronomical objects using rapid stacking or "lucky imaging" techniques. You could also use the phone for guiding, although it is a really expensive guide camera unless you are using an old phone that you have no other use for. In my testing, I was getting up to 20 frames per second full HD video from my phone on my home network, which is more than adequate for these purposes.
Driver Settings Tabs
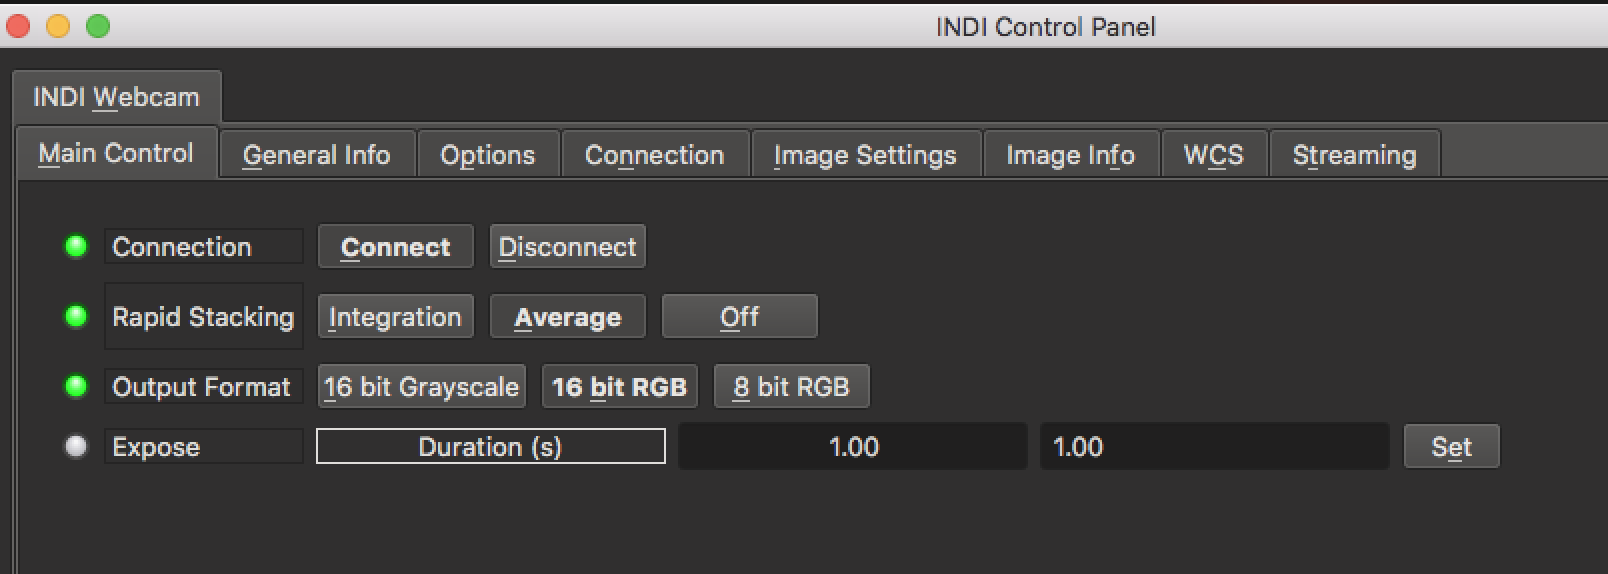
Main Control
The main control tab handles the Connect and Disconnect functions of the driver. Please see the Connection Settings tab for setting the options for which sources/cameras to connect to. Also in the Main Control Tab, you can Select the Rapid Stacking Options, the Output Format of the Images taken, and set the exposure time.
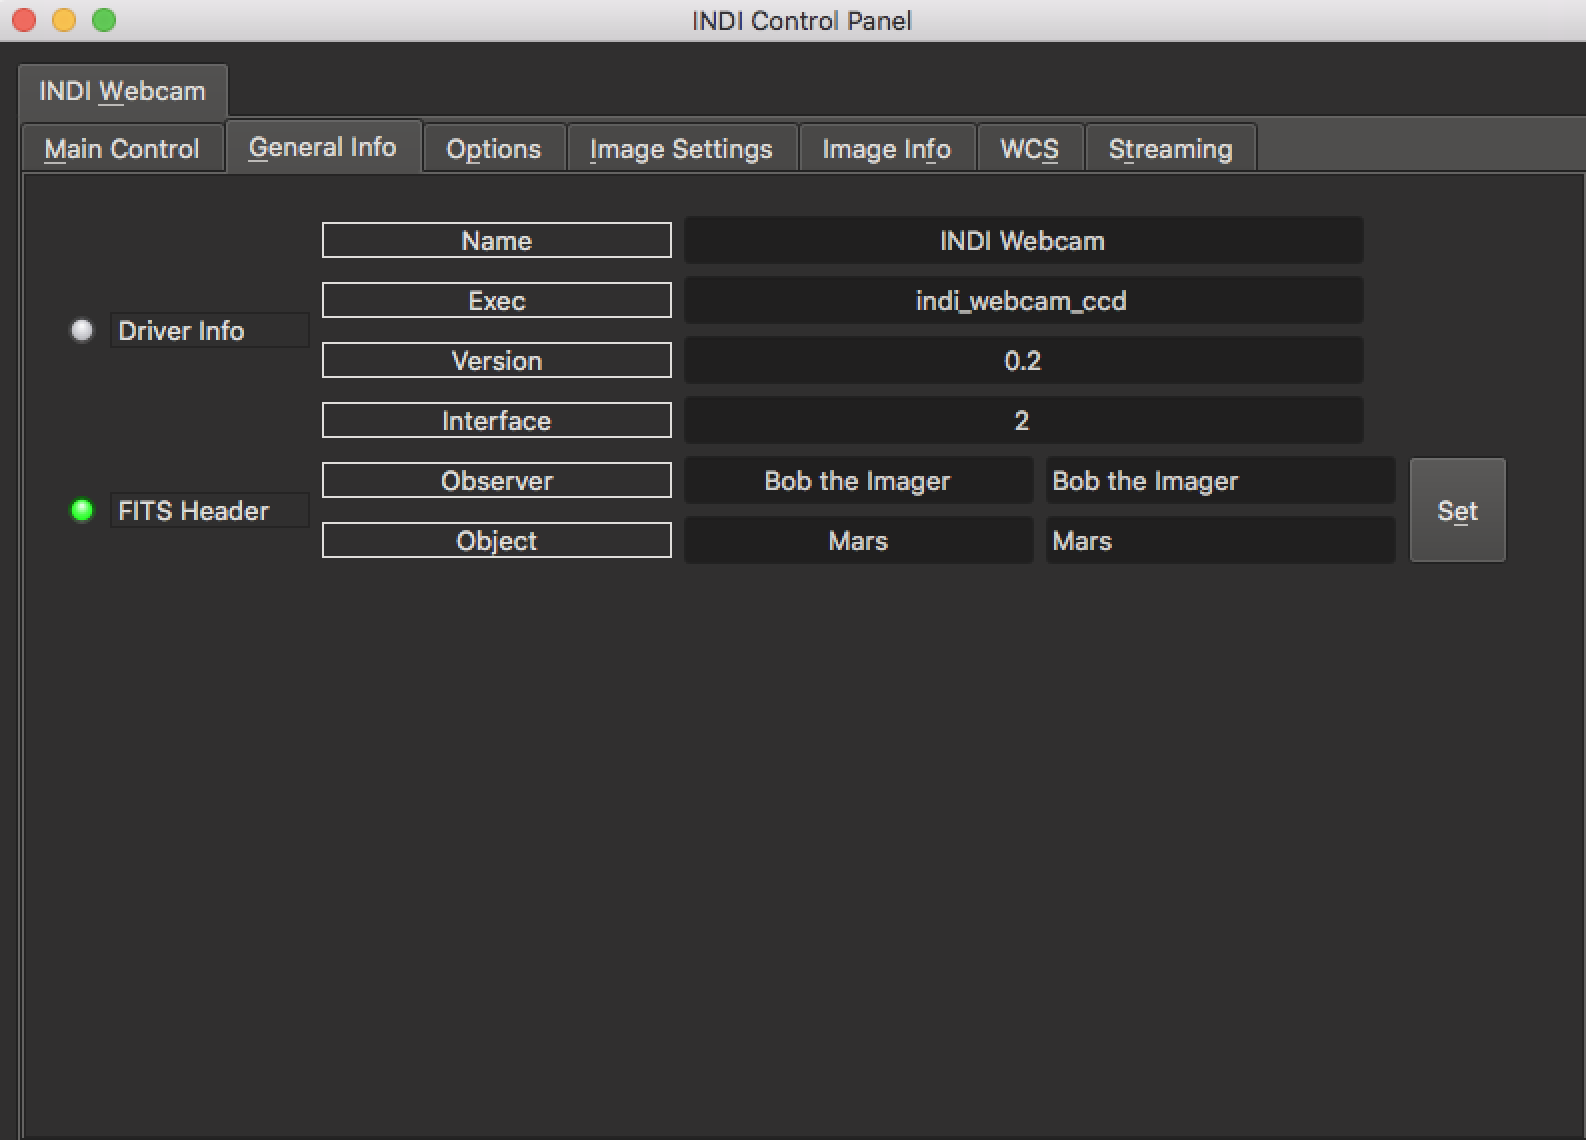
General Info
This provides general information about the currently running driver and driver version. It also lets you set the Observer and Object Information for the FITS Header.
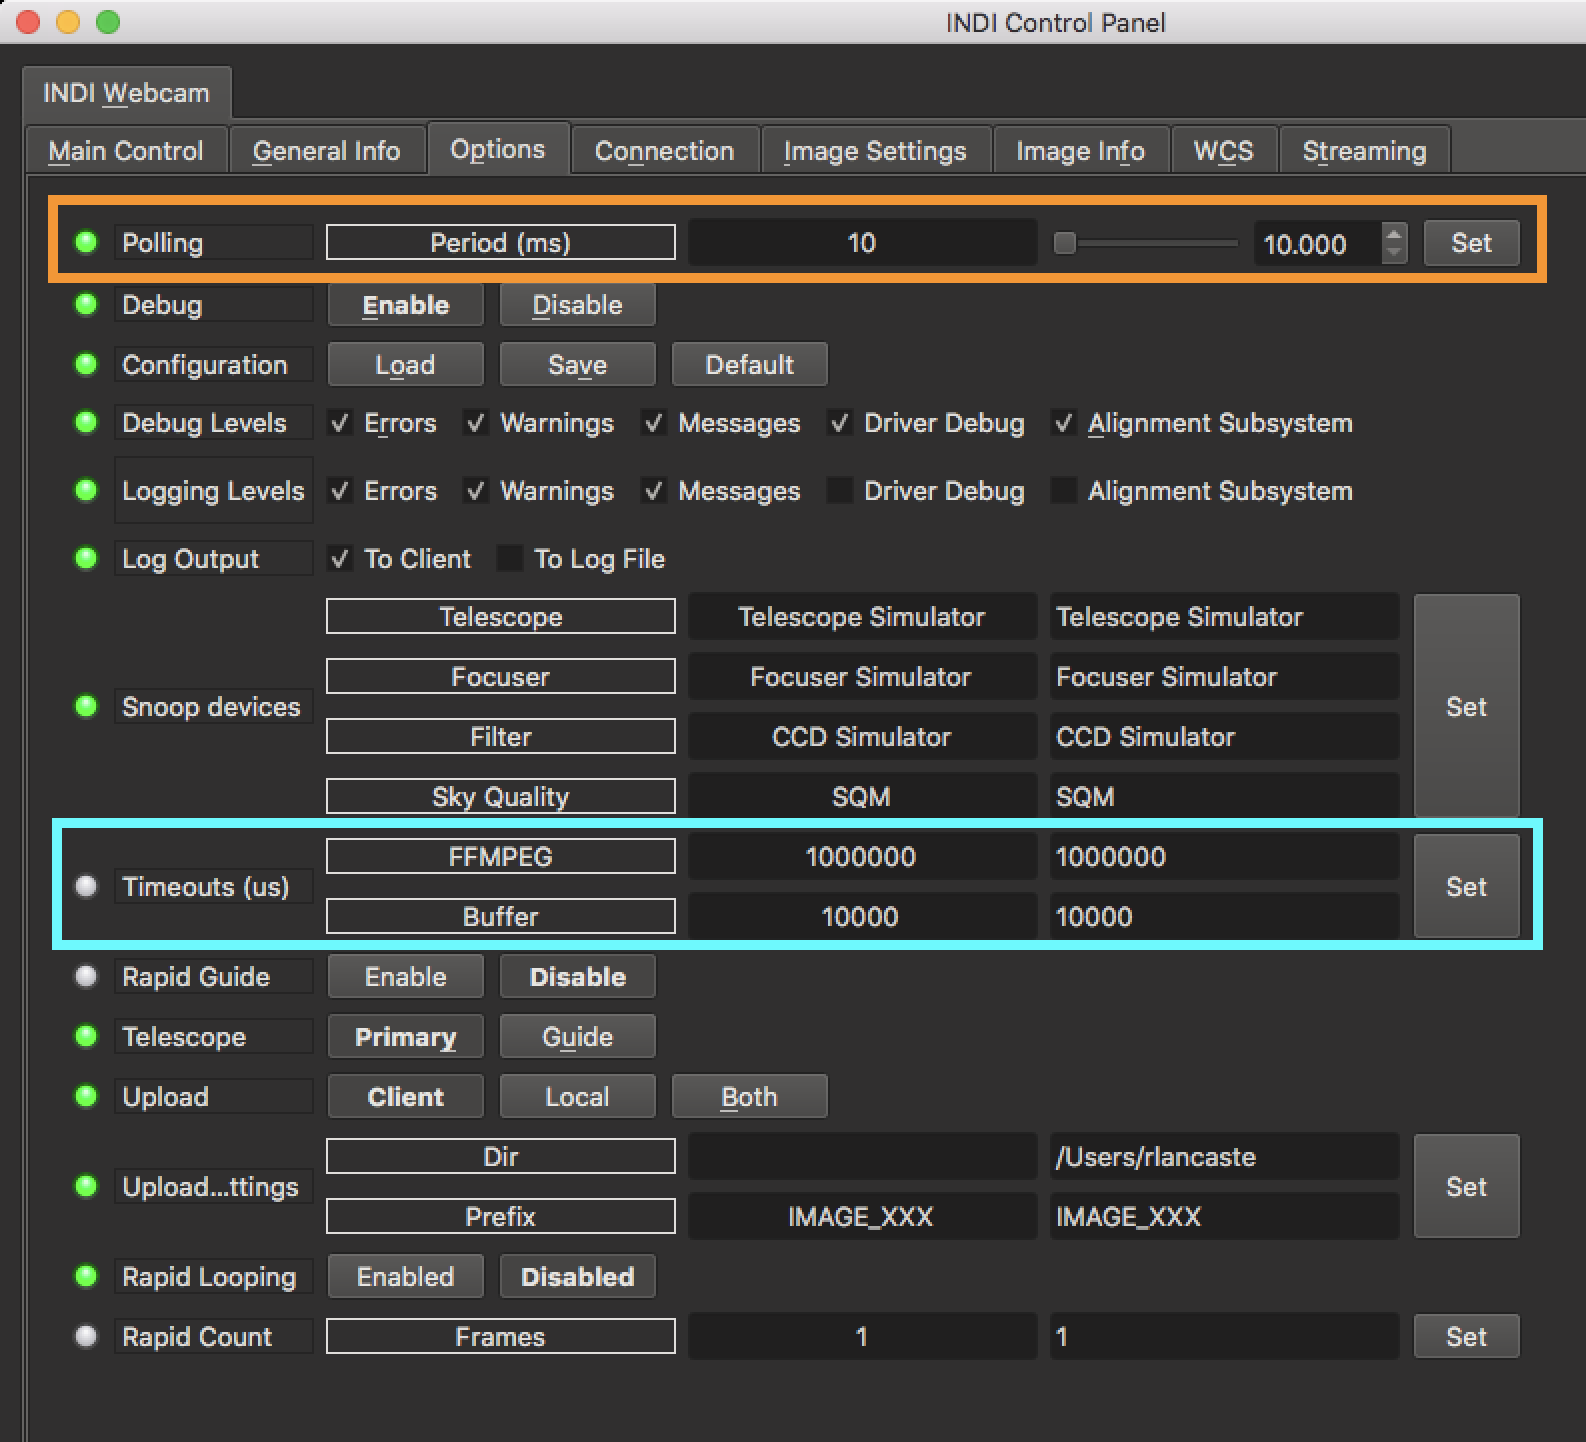
Options Tab
The Options tab contains settings for default file locations, upload behavior, and debugging. The polling period for this driver should be set as short as possible if you are using the rapid stacking features since you don't want a delay before it starts imaging.
The FFMPEG time out is extremely important for two reasons. First, when the driver first attempts to connect to a video stream, this setting determines how long it waits before determining that the source is not available. Second, this setting determines how long it waits while attempting to download a video frame before deciding that the source is disconnected and attempting to reconnect. This may need to be adjusted depending upon the speed of your connection. This setting is in micro seconds, so that 1,000,000 is one second, which is the default setting.
The Buffer time out is vital for flushing the frame buffer before taking images or streaming live video. This attempts to ensure there are no stale images in the frame buffer. When FFMPEG grabs a video frame from the buffer to read it, if it takes less time than this time out, then we assume it was a stale image already in the buffer. If it takes more time than the timeout, then we assume this a fresh frame. This may need to be adjusted depending upon the speed of your computer and your connection. This setting is also in microseconds and the default is 10,000 which is 10 milliseconds.
Connection Tab
The connection tab is how you select the connection options in order to connect to your webcam, IP Camera, or Cell Phone. All of these settings are important because FFMPEG will not connect to a video stream if these settings are incorrect. Please see the sections above for details on what these settings mean and how to use them.
Image Settings
In the Image setting Tab, you can set the Frame type and Region of Interest (subframe) of your image.
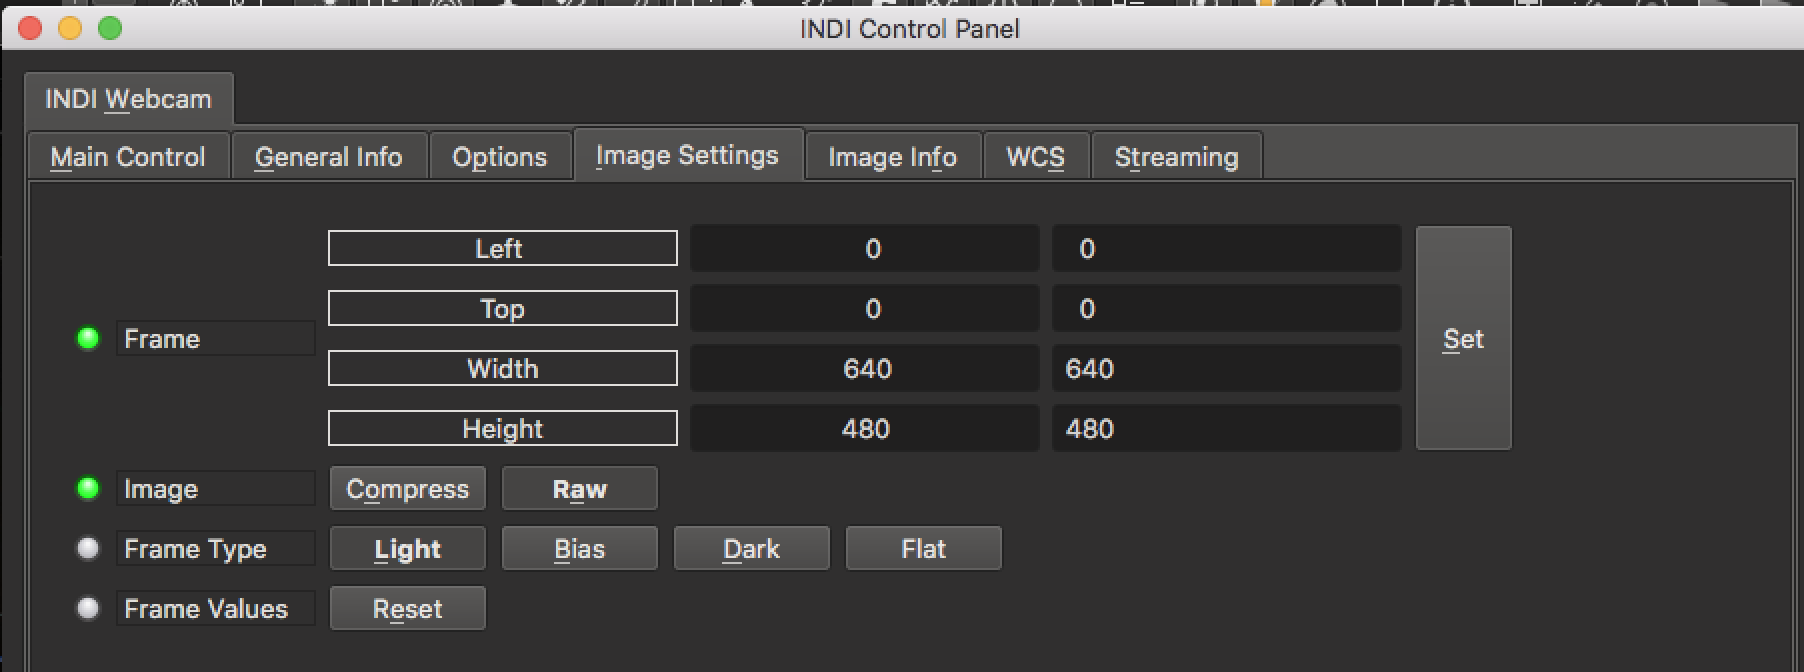
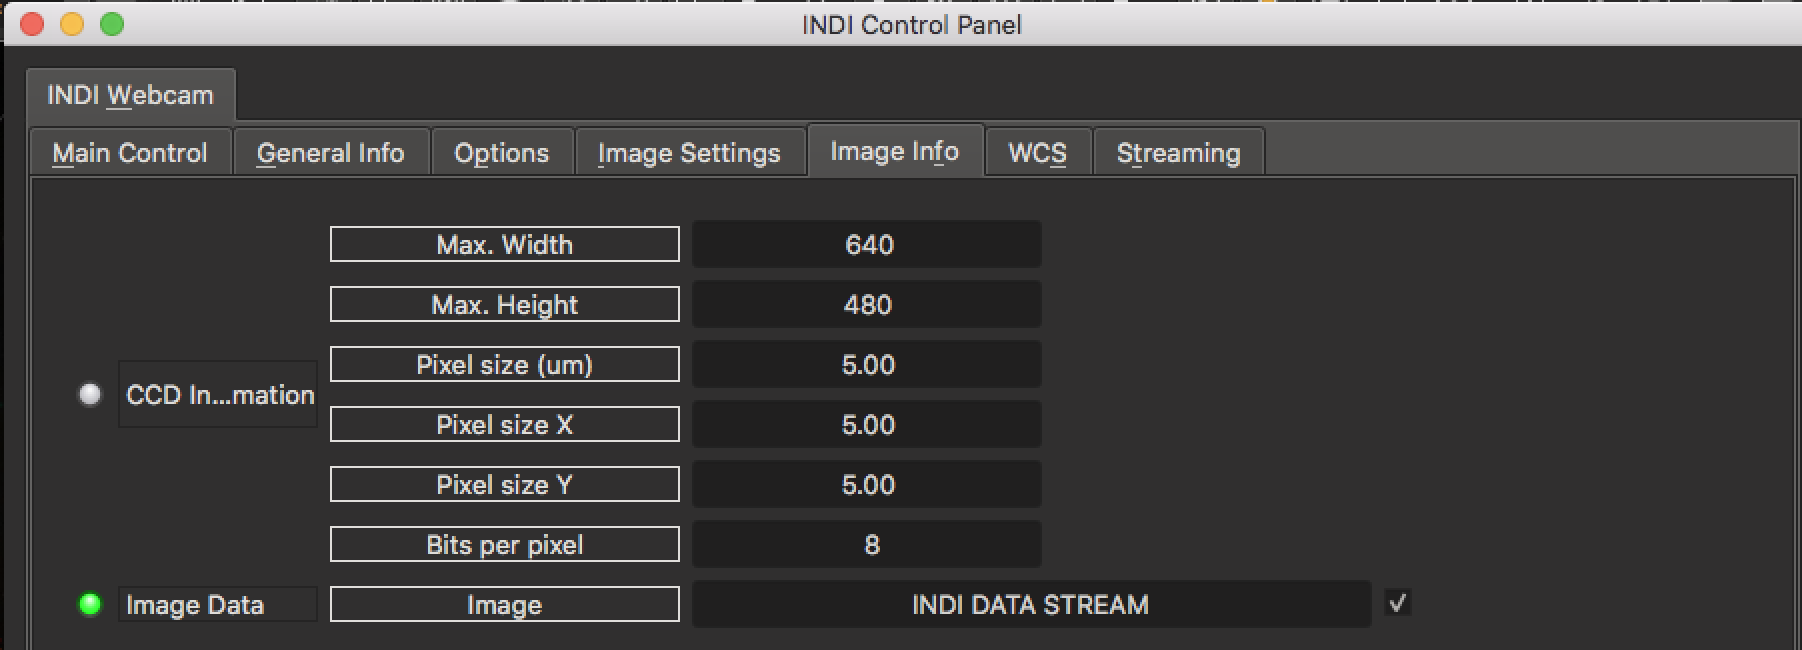
Image Info
This provides information about the currently connected webcam including the width and height, and the bits per pixel for the stream. Please note that the pixel size is probably not correct since that is not reported by webcams. This will be corrected in a future release.
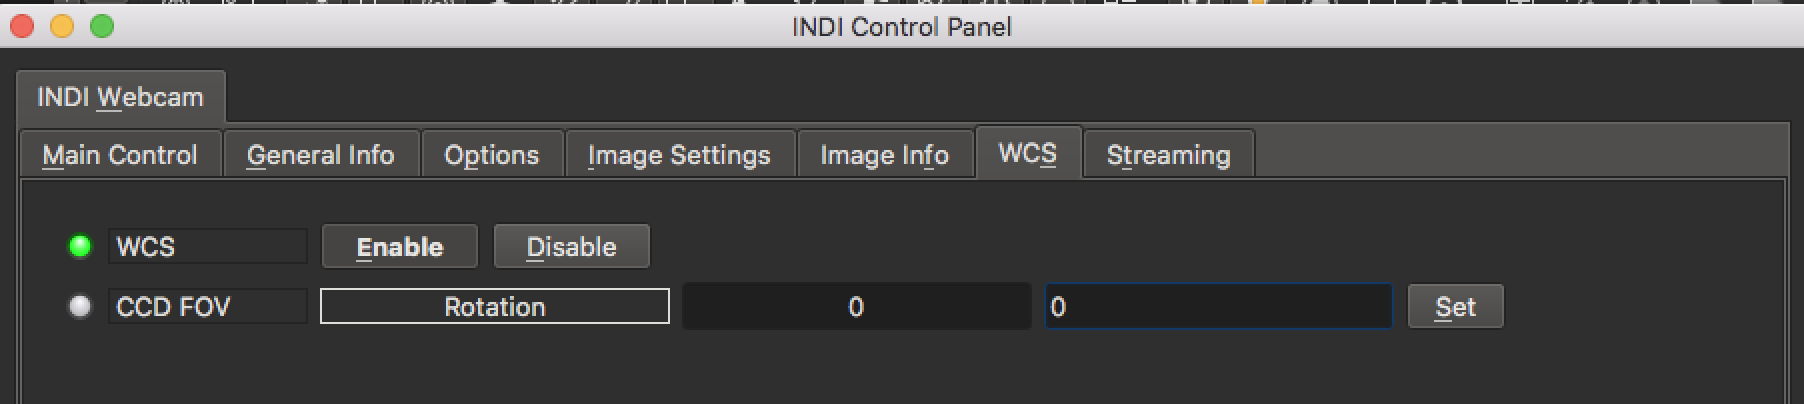
WCS
The WCS paneh will be used for adding WCS information to your images if enabled in the client.
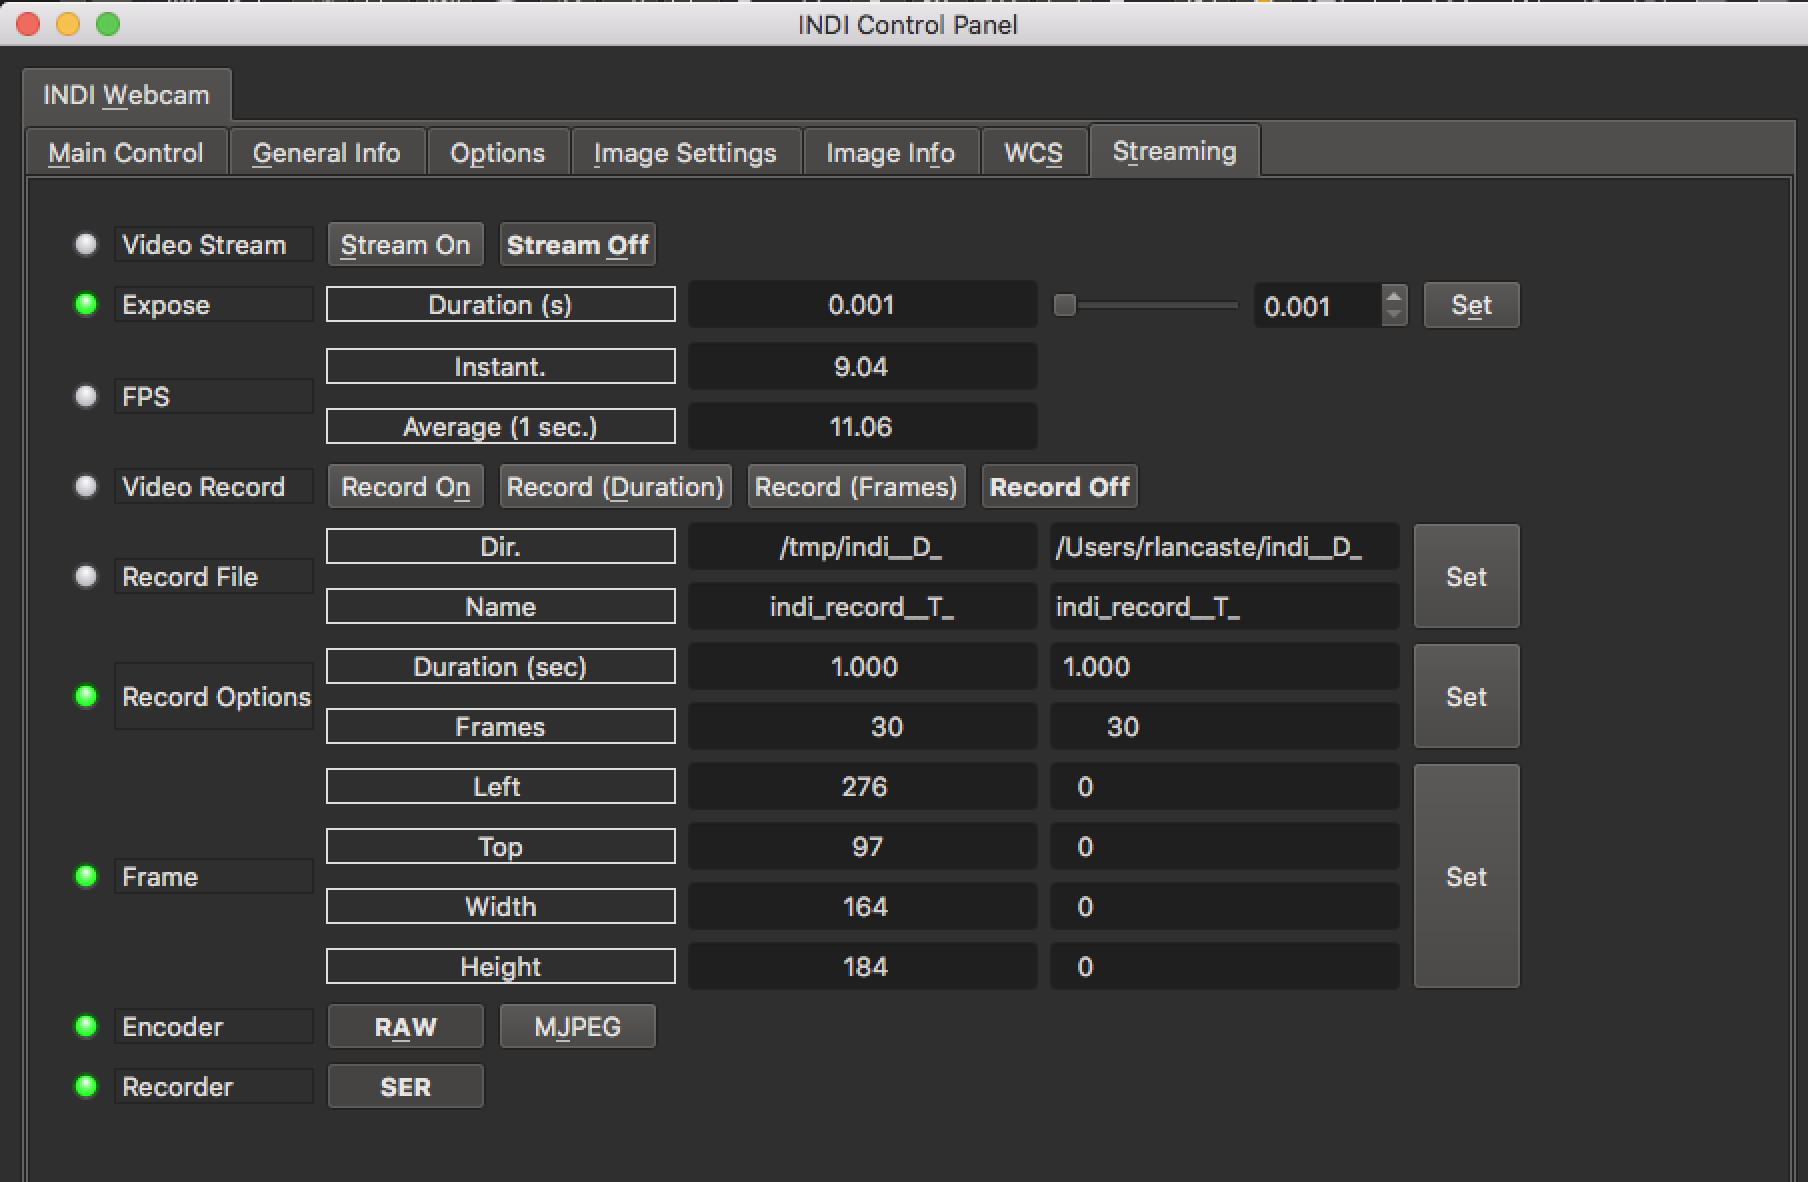
Stream
The Stream Tab provides settings for configuring the live video streaming options for live video of planets or other objects. It is identical to the Stream tab in other drivers.
Issues
One known issue with this driver is that sometimes stale frames will be left in the buffer when starting a new image or a new live video stream. I added a buffer flushing method based on the buffer timeout to try to combat this issue, but it can still happen sometimes. Try setting the buffer timeout to change how stale frames are detected.
Another known issue is that sometimes FFMPEG randomly disconnects from the device. This could be due to a network interruption, error in the stream, or other issue. I have written the driver to try to detect these disconnections and then reconnect so that there is little to no interruption in imaging, but sometimes it does mess up an image or two. You can also hit the connect button to reconnect as well.
Another possible issue when this driver is used with KStars in particular, is that when an image is first loaded, sometimes it is not displayed with the correct histogram stretch. We have not yet determined if this is an issue with the driver or KStars or both. But the image is NOT ruined, it is in fact perfectly fine. There is an easy fix. In each module of Ekos, there is a "Filter" selection. If you select the "Auto Stretch" filter, your images will look correct as soon as you can see them. You can also click the Auto Stretch button if you forgot to use the filter.
If you found a bug, please report it at INDI's bug tracking system at SourceForge. (You can log in with a variety of existing accounts, including Google, Yahoo and OpenID.)